Tuesday, February 22, 2011

Creamy Mushroom Gravy

Hi! I'm Scarlett, I'm new to the blog, so I guess I should tell you a little about myself, huh? I'm a vegan, (meaning I don't consume anything that is either an animal product or a by-product - dairy, honey, meat...not a part of my diet). I also LOVE LOVE LOVE food and figuring out how to take traditional recipes and making them vegan. I'm always up for being experimental and trying something creative and new in the kitchen - sometimes the flavours you should NEVER put together wind up being the absolute best!

The first recipe I want to share is my creamy mushroom gravy. This stuff is absolutely amazing; it's perfect for topping vegetables, meatloaf (or wheatloaf, in my world)...anything. It's rich and flavourful, and you won't even be able to tell that it's vegan!

My favorite way to serve this up, however, is turning it into a stroganoff. Add your favorite cut of beef, pour over noodles, and top it with a little bit of sour cream, and you've got the makings of a delicious meal! (I prefer meatless meatballs, mini rotini, and Tofutti's Better-Than-Sour-Cream.)

Creamy Mushroom Gravy

Ingredients:
Yes, I'm a setter-outer when it comes to my ingredients.

3T olive oil
1/2c minced onion (I use red, but whatever floats your boat)
2 garlic cloves, minced (I found a fabulous roasted garlic in a glass jar; works great!)
1 1/2c chopped white mushrooms 
2T soy sauce (low sodium is an awesome substitute for the regular)
1t dried thume
1/4t salt
1/4t black pepper
1 1/2 c vegetable stock (I have fallen in love with Better than Bouillon!)
1/4 c plain soy milk (Westsoy is a good brand to start with, if you're not a soy person)
2T nutritional yeast (found in the bulk foods section of most supermarkets)
2T corn starch 


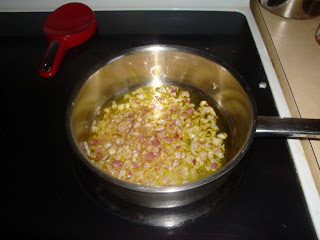
  • Warm the olive oil in a saucepan over medium heat. Add in the onion and stir, cooking until it's soft and just beginning to get translucent (about 3-5 minutes). 


  • Add garlic and mushrooms, and heat until softened, stirring often. I usually wind up adding a little more oil at this time, just to keep things nice and juicy. When soft, stir in the soy sauce, thyme, salt and pepper.
  • Pour your veggie/spice mixture to a blender, add vegetable stock, soy milk, nutritional yeast, and cornstarch. Blend on high until your gravy is smooth and creamy. It will be pretty thin at this point, but don't worry! The gravy-consistency is brought on in the next step.

  •  Pour the gravy back into the saucepan, bring to a boil. Stir constantly, making sure it doesn't stick! After it just barely starts to boil, reduce the heat and simmer the gravy. It will thicken up in a few minutes.
  • Add meat and noodles for a delicious stroganoff, or simply pour over your favorite vegetables!
Enjoy!

Recipe inspired by Vegan on the Cheap, by Robin Robbertson

Monday, February 7, 2011

[menu plan] week of feb 07

i have a new favorite website. have you been to $5 Dinners? it's great. cheap, easy meals. and if you don't use their recipes, at least you'll get some ideas for what you want to make.

i've been really slacking in the meal planning department lately. and i'm sick of going to the store every day, not knowing what i'm going to make for dinner that night, and then buying something easy, not so healthy, and not so cheap. so i've made a weekly meal plan today, and will stop by the store on the way home today to get food for the whole week. i'm so excited.

here's the meals. i still have no idea what order i'm going to make them in, but i imagine things like the pilaf will wait til the end of the week, because it's not so much fresh produce in it. the ingredients can sit around for a little bit.


mushroom quinoa pilaf
sloppy joes with mac-n-cheese
croissant hot dogs with pasta salad
cashew chicken
tacos with mexican rice

Sunday, January 30, 2011

homemade oatmeal packets

maybe it's a winter thing, maybe it's because of the convenience, but i'm really in love with instant oatmeal packets lately. well, good thing my wonderful mother-in-law brought us a few boxes of quaker... but we're almost out! well, my mom sent me some recipes for homemade oatmeal packets, and i figured it was finally time to make those. super convenient, nice to keep in my desk drawer for days when i forget breakfast, and healthy, this is the perfect breakfast.

oatmeall

here's the basic "recipe" for the bags:
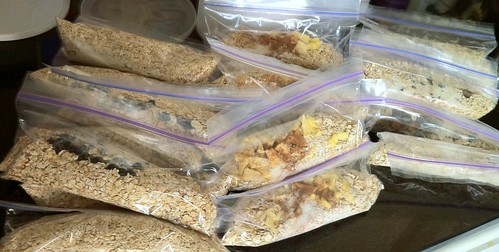
using a 1/4 cup scoop, put 1.5 scoops of oatmeal into snack-size baggies.
add 1T ground up oatmeal (finely ground in the food processor)
add a pinch of salt, and about 1/2 T sugar

then, pick your flavor! the possibilities are endless. i made the following:

blueberries and cream:
about 2 dozen dried blueberries and 1T of non-dairy creamer

apples and cinnamon;
about 2T of chopped, dried apples, and some sprinkles of cinnamon

AND dessert oatmeal:
1T non-dairy creamer, 1.5T chocolate chips, and a touch of cinnamon

i can't wait to try these! you cook them just like you'll cook those store-bought oatmeal packets. add enough water to get it the thickness you want, and microwave for a few minutes. i'll let you know how they are, but you should try them also.

**EDIT**
i tried one today for the first time. in the words of tony the tiger, they're great! i added about a half cup of water (more of less depending on how you like the texture of your oatmeal), and it did need more sweetener. add a full tablespoon when you make them, or plan on seasoning it with sugar after you make it. i was surprised that it only needed to microwave it for about 2 minutes, seeing as i didn't use the quick-cook oats. what a convenient breakfast!

Tuesday, January 25, 2011

dinner roulette

you know what's convenient?

freezing leftovers. or freezer cooking days.
because then you have a freezer full of dinners ready when you are.

picnikfile_t1NLhb

you know what else is convenient?

picnikfile_eMLV6Q

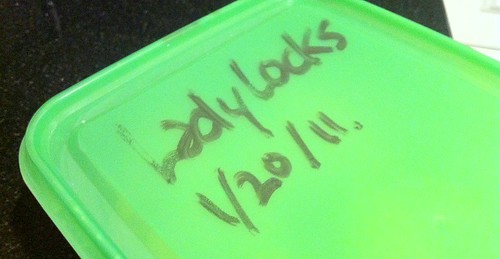
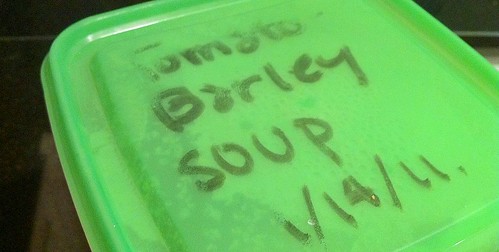
labeling the tops, so you know when and what.
(i used dry erase markers. it cleans right off!)

you know what is NOT convenient?
getting into the labeling habit only in the past month.
which means anything before that....

picnikfile_43q-Fs

isn't labeled.

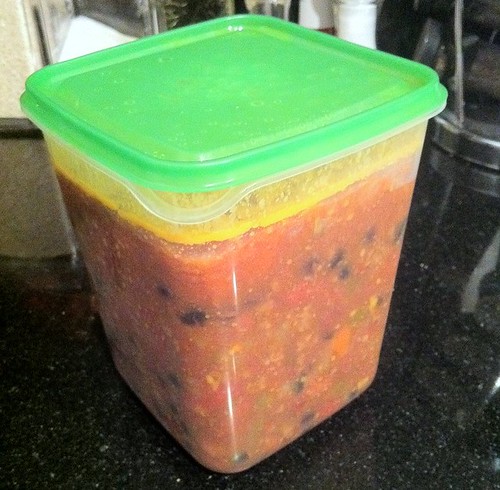
so, husband and i decided to play dinner roulette. and lemme tell you, if it turns out like this every time, i'd love to do this for every dinner! so, looking through the tupperware, any guesses? chili? pasta sauce? soup?

picnikfile_yYiN_C

it's taco soup! one of our favorites!

Friday, January 21, 2011

we have a button now

share us with your readers! snag the button and add it to your page.


DD


check the sidebar.
>>>>>>>
yep, over there.

lady locks

ahhh. a family favorite. mom used to make the pastry part by hand, but, well, i don't want to have to buy the clothespins to make them, and you can't buy pennsylvania pastries in dallas... so mom sent some cookie shells to me with christmas gifts!

if you don't have a wonderful mom like i do, you can make your own shells by following steps 1-3 found here.

but for the filling, oh, the filling. don't listen to anything online. listen to me. because i got my recipe from my mom, and it's a family favorite. in the chances that it's one of those "family secret" recipes, i don't think she reads this blog. and if it is, i promise she won't mind me sharing this amazingness with you.


Lady Lock Filling

  • 2 cups milk
  • 4 heaping teaspoons all-purpose flour
  • 1 cup (2 sticks) margarine, at room temperature
  • 1/2 cup vegetable shortening
  • 2 cups granulated sugar
  • 2 teaspoons vanilla
  • Dash salt
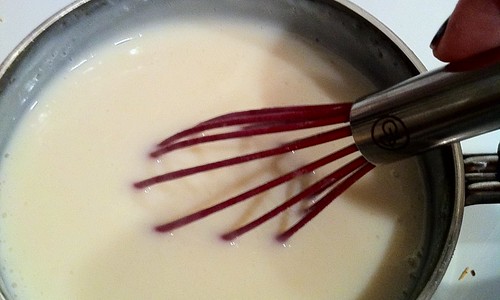
Combine the milk and flour. Cook over low heat until thick making sure to stir with a whisk.  Cool completely (refrigerate until cool).

picnikfile_jU75Ra
it ends up being pudding consistency.


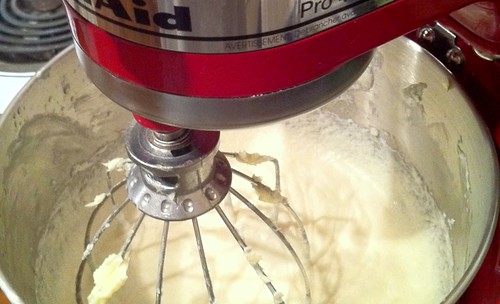
Beat the flour mixture, using an electric mixer. Add the margarine, vegetable shortening, sugar, vanilla and salt. Beat at high speed until light and fluffy.

picnikfile_oPuG0k
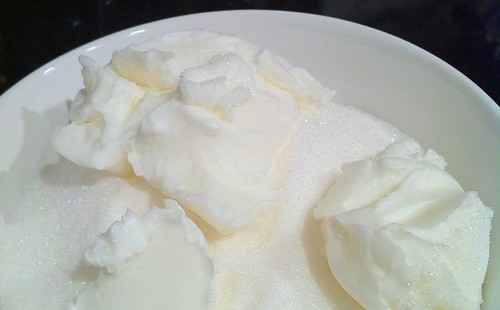
sugar, salt, crisco.


picnikfile_Px1fLd
this is the "before"-- the after is so fluffy!


if you don't have a pastry bag, put the mixture in a large baggie.  Only fill baggie about 1/2 full.  Twist so it is all in one end.  Cut off small tip.  Fill lady locks.  Dust with powdered sugar.  Refrigerate or freeze until ready to eat. or eat fresh after they're filled. i think they taste a lot better after the filling has chilled and set a little. mom likes them best fresh.


enjoy!!

Thursday, January 20, 2011

can't wait to use this!

for my birthday, husband got me this awesome cookbook.

cookbook

i can't wait to use it. it shows pictures of every step of every recipe. so, there's no more wondering what the difference is between chop and dice. or trying to figure out whether they meant blended or pureed. it's all right there.